
Korean recipe
Steamed pork mandu
Forty Korean dumplings are filled with pork, tofu, cabbage, mung-bean sprouts, and chives, then steamed until juicy and safely cooked.
South Korea

01
Ingredients
- 40
round Korean dumpling wrappers, 9 cm
- 400 g
ground pork
- 250 g
firm tofu
- 250 g
green cabbage, finely chopped
- 200 g
mung-bean sprouts
- 100 g
garlic chives, finely chopped
- 35 ml
Korean soy sauce, divided
- 20 ml
toasted sesame oil
- 15 g
garlic, minced
- 10 g
fresh ginger, finely grated
- 10 ml
rice vinegar
- 8 g
fine salt, divided
- 3 g
black pepper
- 60 ml
water for sealing wrappers
- 2
perforated parchment rounds for the steamer
02
Method
- 01
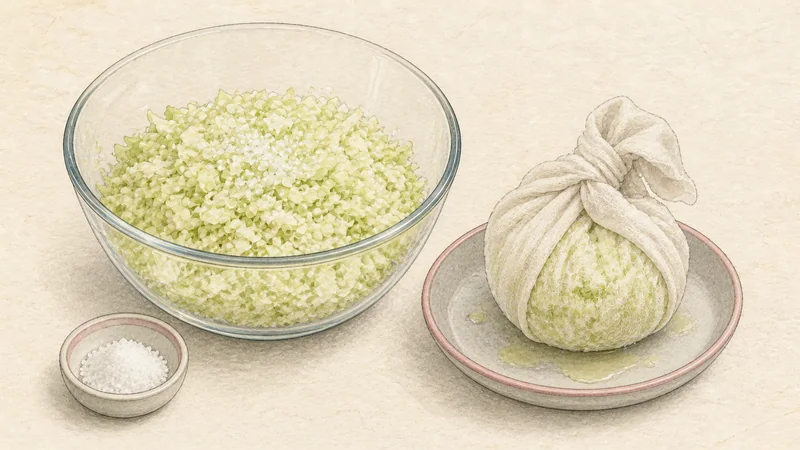
Salt and drain the cabbage
Toss chopped cabbage with 4 g salt and rest 15 minutes. Wrap in a clean towel and squeeze until no more liquid drips; wet cabbage would loosen the filling.
Cooking-step illustration, not a photograph - 02
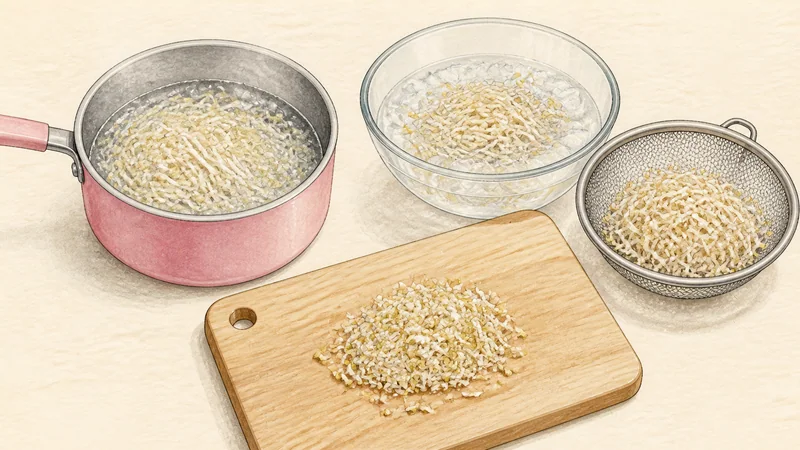
Blanch and dry the sprouts
Blanch sprouts in boiling water for 2 minutes, cool in cold water, and squeeze firmly. Chop to 1 cm so long strands cannot pierce the wrappers.
Cooking-step illustration, not a photograph - 03
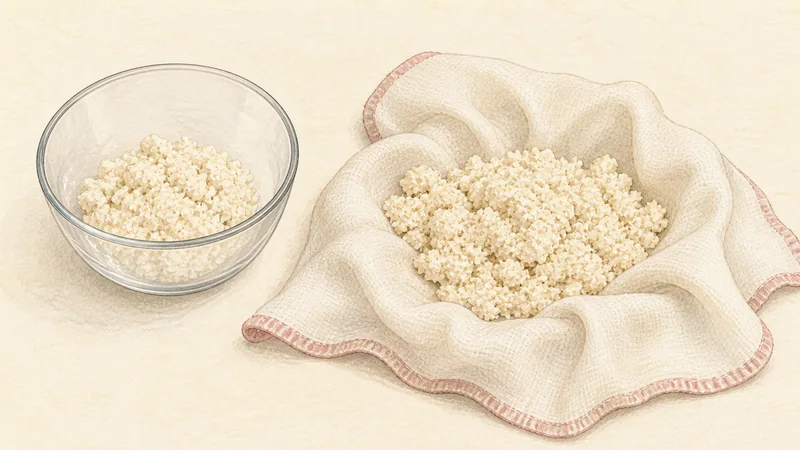
Press the tofu dry
Crumble tofu into a clean towel and squeeze repeatedly until its weight is about 170 g. Break the dry curds finely with fingers.
Cooking-step illustration, not a photograph - 04
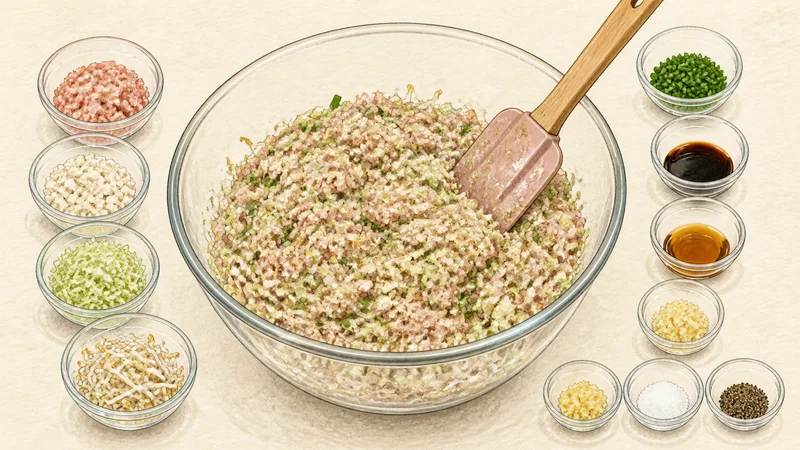
Mix the pork filling
Combine pork, tofu, cabbage, sprouts, chives, 25 ml soy sauce, sesame oil, garlic, ginger, remaining 4 g salt, and pepper. Stir in one direction for 2 minutes until tacky.
Cooking-step illustration, not a photograph - 05
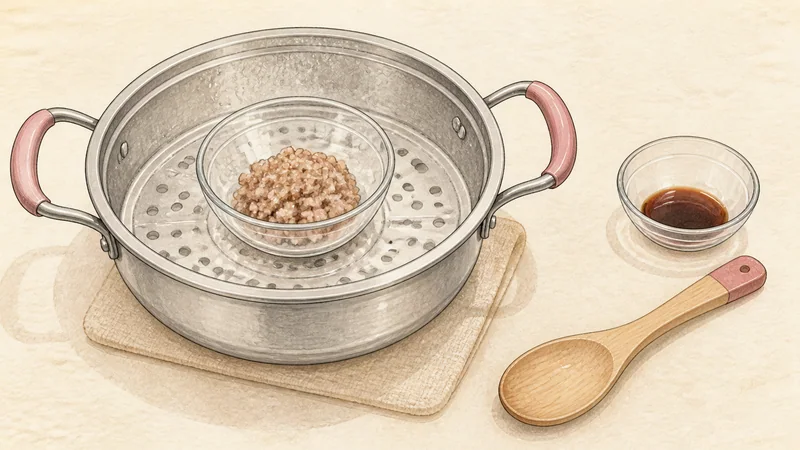
Cook a safety tester
Steam 20 g filling in a small heatproof dish for 6 minutes, until it reaches 74°C. Taste it only after that point and adjust the raw filling with no more than 5 ml extra soy sauce if needed.
Cooking-step illustration, not a photograph - 06
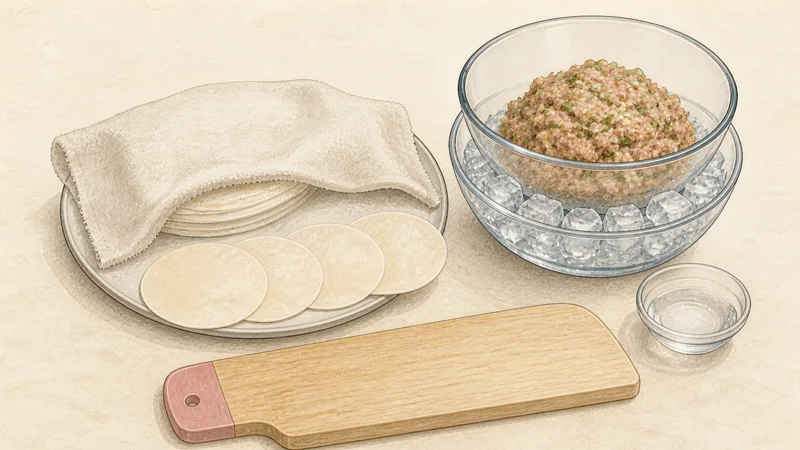
Set up a covered wrapping station
Place wrappers under a barely damp towel, filling over an ice pack, and 60 ml water beside the board. Work with only four wrappers exposed at a time.
Cooking-step illustration, not a photograph - 07
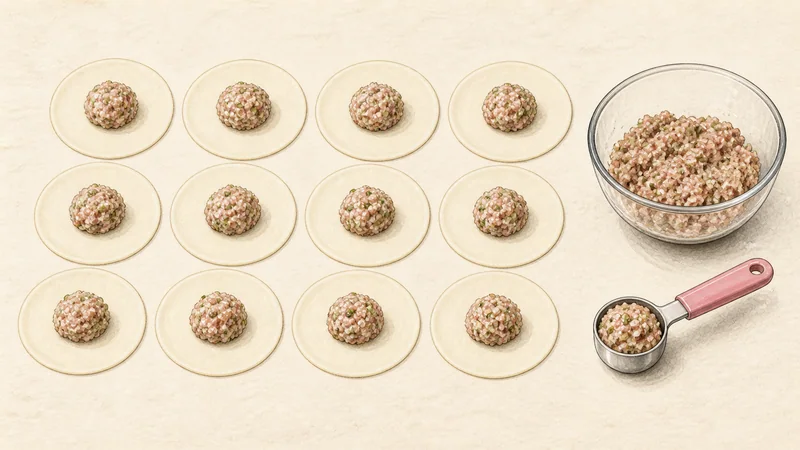
Measure every portion
Place 22 g filling in the centre of each 9 cm wrapper. Keep a clean 1.5 cm border and do not press filling onto the sealing edge.
Cooking-step illustration, not a photograph - 08
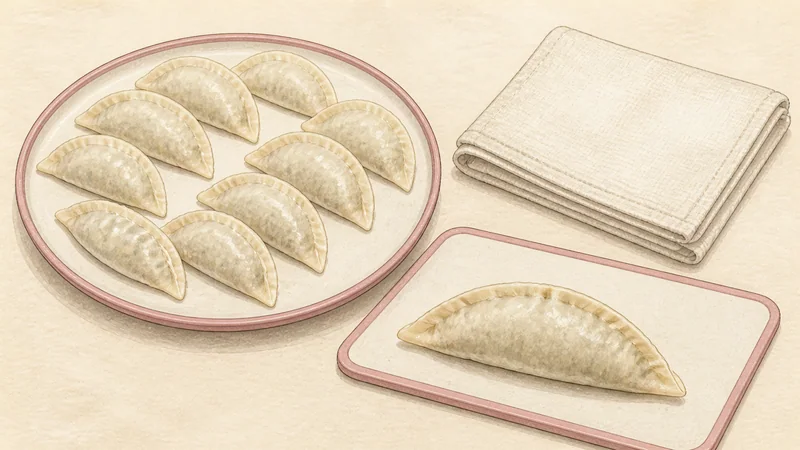
Seal without trapped air
Moisten half the rim, fold into a half-moon, press out air from the filling outward, and pinch the seam firmly. Place seam-up under a dry towel and repeat to make 40.
Cooking-step illustration, not a photograph - 09
Prepare a strong steam
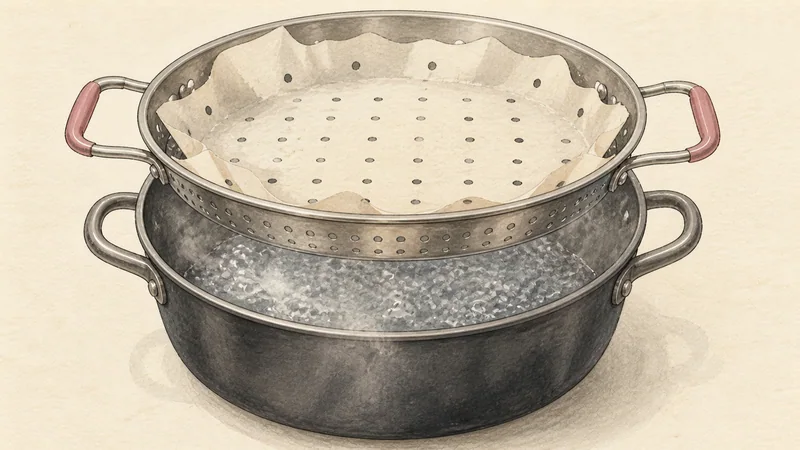
Bring 1.5 L water to a full boil under the steamer. Line the basket with perforated parchment and leave open holes around its edge so steam can circulate.
Cooking-step illustration, not a photograph - 10
Load the first batch
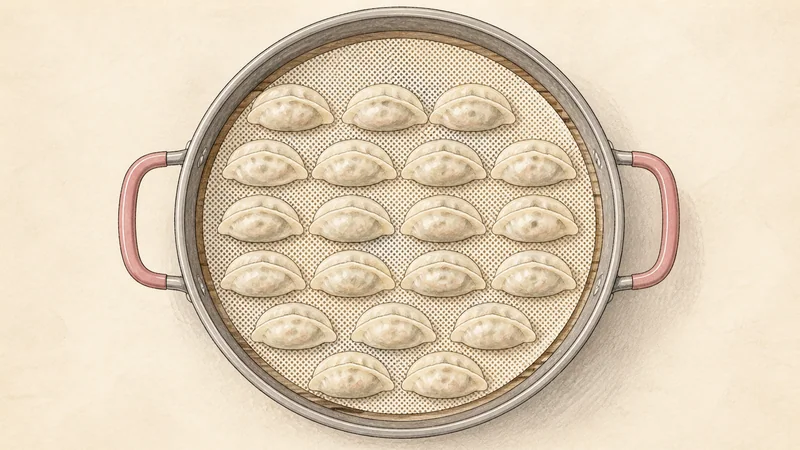
Arrange 20 mandu in one layer with at least 1 cm between them. Cover immediately and start timing only when strong steam escapes from the lid edge again.
Cooking-step illustration, not a photograph - 11
Steam to 74°C
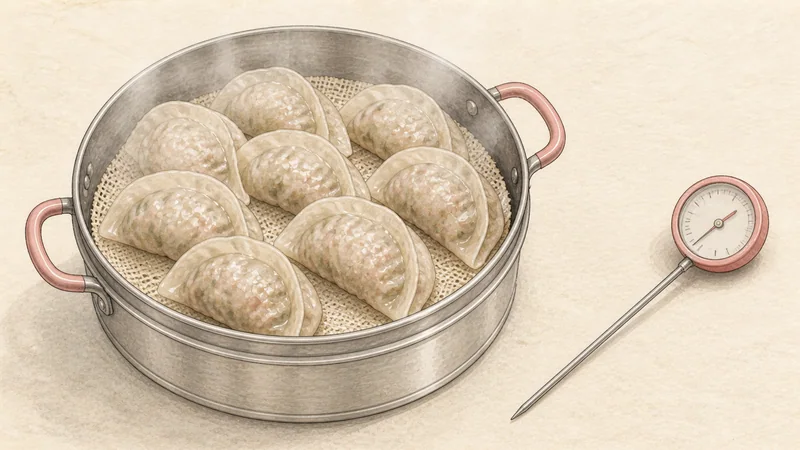
Steam the first batch for 10–12 minutes without opening. Check the centre of the largest mandu reaches 74°C and the wrapper is translucent and tender; add 2 minutes if either test fails.
Cooking-step illustration, not a photograph - 12
Steam the second batch
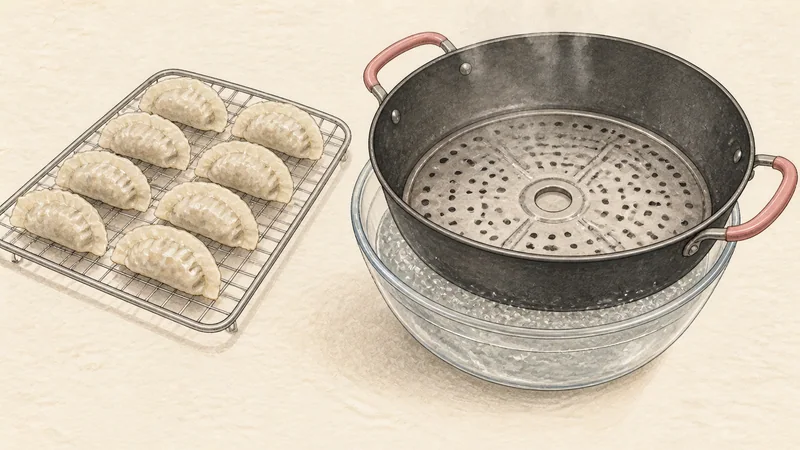
Transfer the first batch to a clean rack without stacking. Refill the base with boiling water if below one-third, restore full steam, and cook the remaining 20 to the same 74°C standard.
Cooking-step illustration, not a photograph - 13
Mix individual dipping sauce
Mix the remaining 10 ml soy sauce with 10 ml rice vinegar and divide among five dishes. Do not pour sauce over the mandu, which would soften the wrappers.
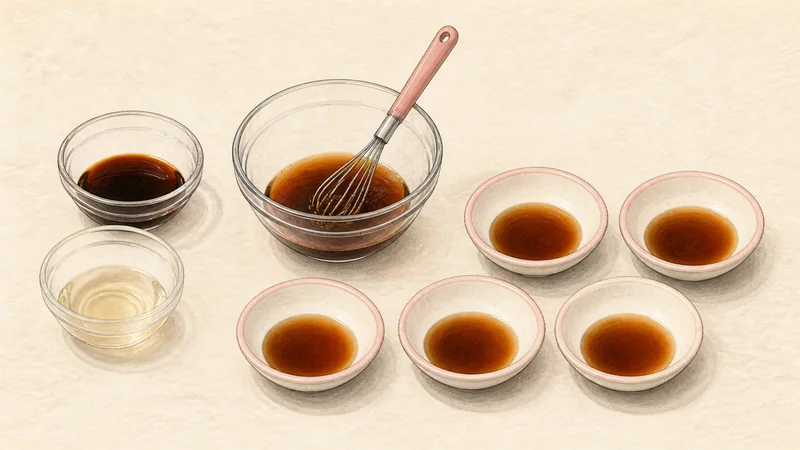
Cooking-step illustration, not a photograph - 14
Rest briefly and serve
Rest each batch uncovered for 3 minutes so the skins stop sticking, then serve 8 mandu per person with dipping sauce. Keep raw-filling utensils away from the serving area.
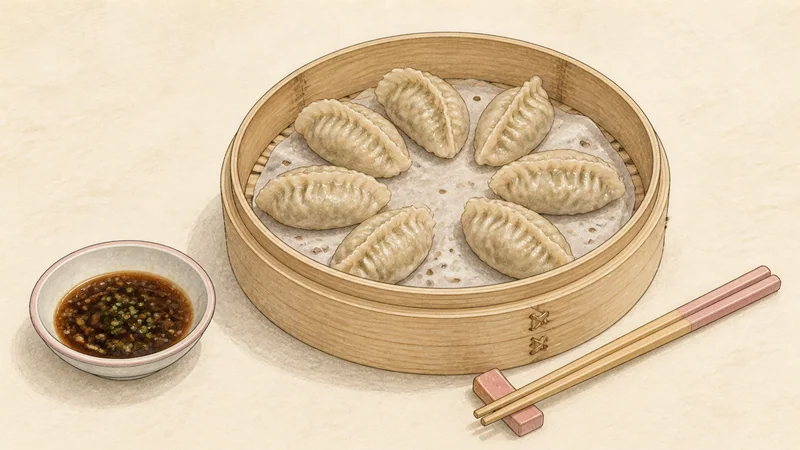
Cooking-step illustration, not a photograph


03
Sources and photo credit
This standardized method was independently rewritten after cross-checking the references below. Recipe Nest Vault does not claim that the credited photographer cooked from this exact version.
Recipe references
Jjin-mandu 3 — Photograph by Chloe Lim; CC BY 2.0.
Step illustrations: Original illustrations created by Recipe Nest Vault with OpenAI image_gen.
More Korean recipes
More Korean recipes

1 hr 10 min
Vegetable bibimbap

1 hr
Beef bulgogi

7 hr