
Brazilian recipe
Pão de Queijo
Chewy gluten-free cheese buns made from tapioca starch, warm milk, eggs and aged cheese, crisp at the edges and elastic in the centre.
Minas Gerais, southeastern Brazil

01
Ingredients
- 240 g
tapioca starch
- 120 ml
whole milk
- 80 ml
water
- 60 ml
neutral oil
- 6 g
fine salt
- 2
large eggs, beaten
- 140 g
aged Parmesan or Minas-style cheese, finely grated
- 20 ml
oil, for greasing
02
Method
- 01
Heat the liquid
Combine the milk, water, oil and salt in a saucepan and bring to a full boil. Heat the oven to 200°C and grease a baking tray.
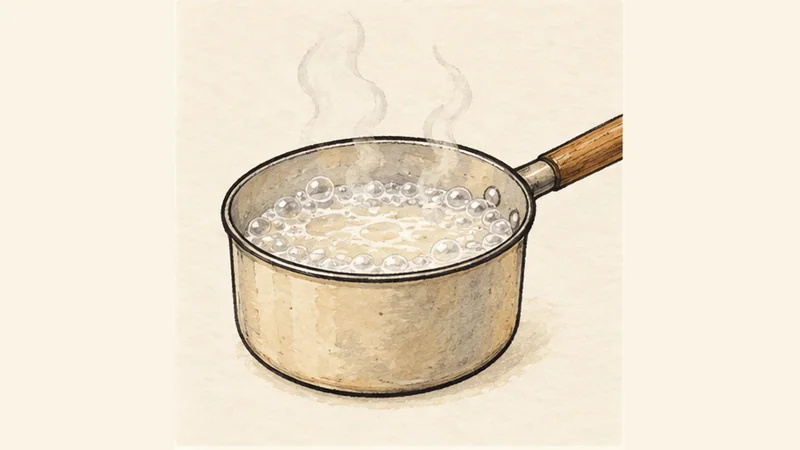
Cooking-step illustration, not a photograph - 02
Scald the starch
Pour the boiling liquid over the tapioca starch in a mixing bowl and stir until no dry patches remain. Cool for 10 minutes until warm rather than hot.
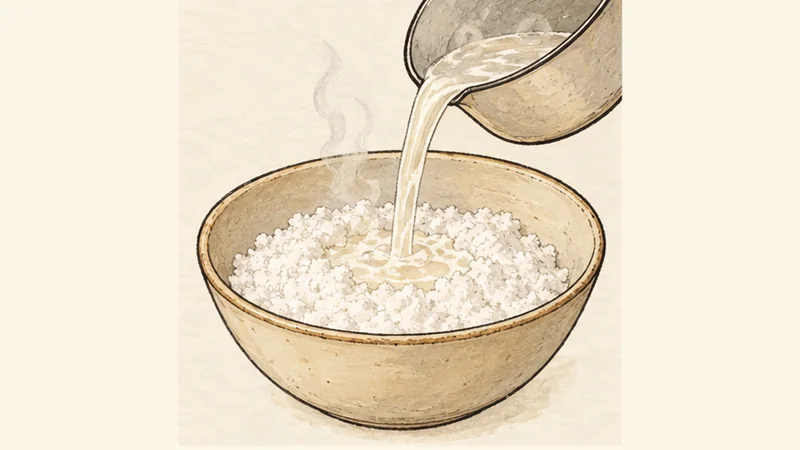
Cooking-step illustration, not a photograph - 03
Add eggs and cheese
Beat in the eggs gradually, then fold in the grated cheese until the dough is smooth, sticky and elastic. If it will not hold a scoop, add a little more tapioca starch.
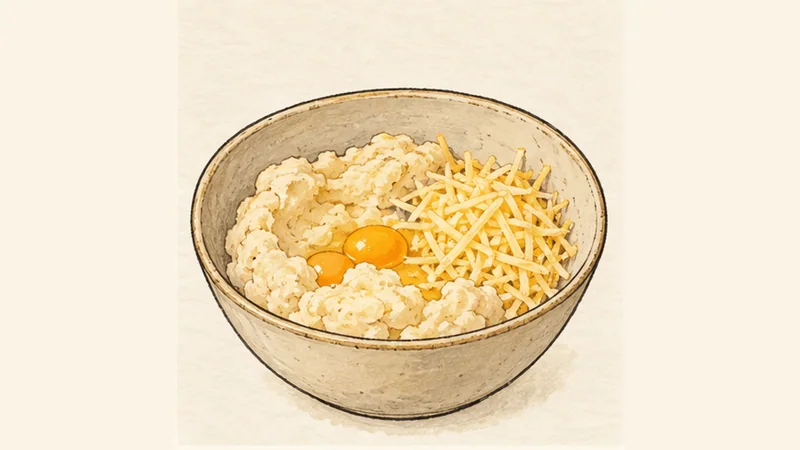
Cooking-step illustration, not a photograph - 04
Portion the buns
Scoop the dough into 18 portions and roll each into a smooth ball with lightly oiled hands. Place them with space between them on the tray.
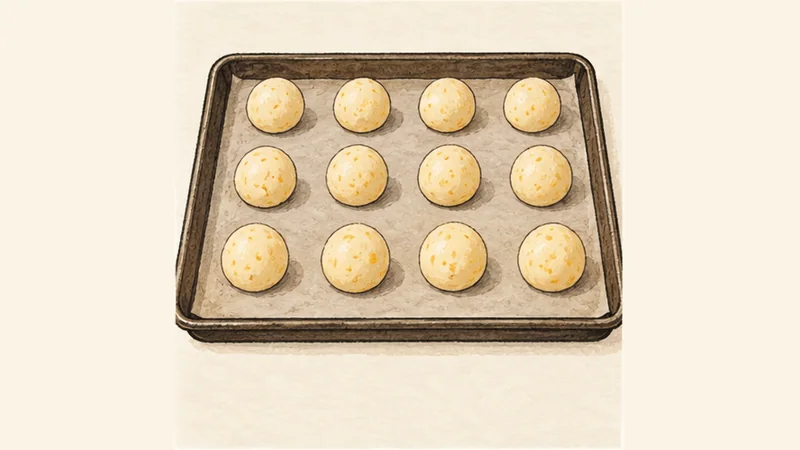
Cooking-step illustration, not a photograph - 05
Bake until freckled
Bake at 200°C for 20–25 minutes until the buns are puffed, lightly golden and freckled with browned cheese.
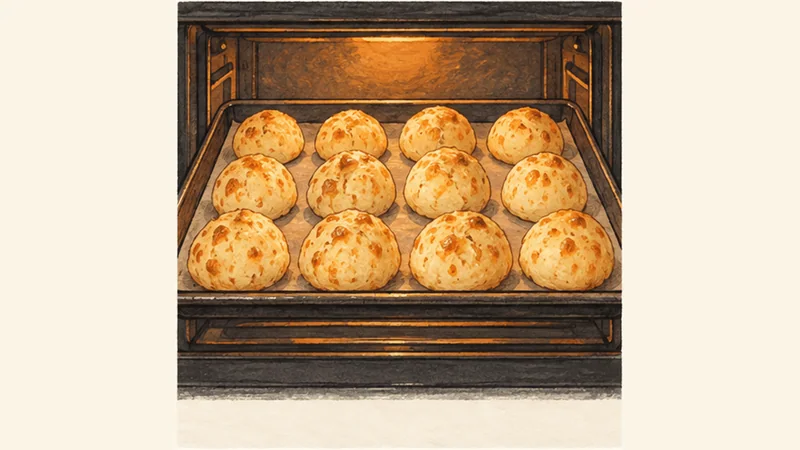
Cooking-step illustration, not a photograph - 06
Rest briefly and serve
Rest the buns for 5 minutes so the centre finishes setting, then serve warm while the shell is crisp and the middle is chewy.
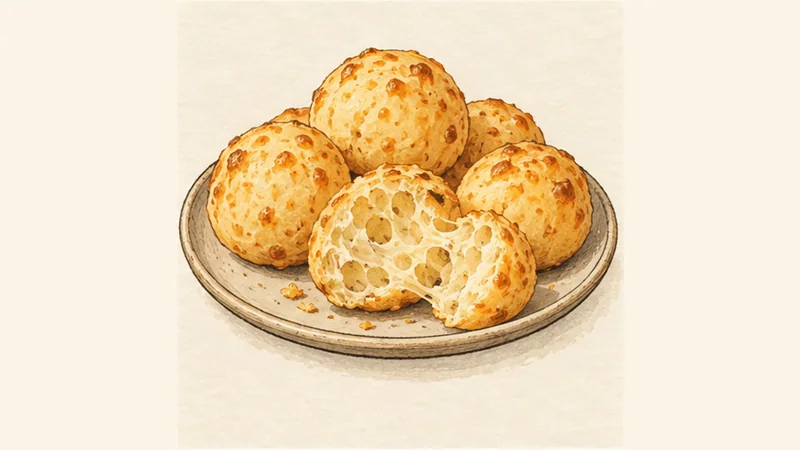
Cooking-step illustration, not a photograph


03
Sources and photo credit
This standardized method was independently rewritten after cross-checking the references below. Recipe Nest Vault does not claim that the credited photographer cooked from this exact version.
Recipe references
- King Arthur Baking — Brazilian Cheese Buns (Pão de Queijo)
- Food Network — Pao de Queijo (Brazilian Cheese Bread)
Pão de Queijo - cheese bread.jpg — Photograph by Jonathan Wilkins; CC BY-SA 3.0.
Step illustrations: Original illustrations created by Recipe Nest Vault with OpenAI image_gen.
More Brazilian recipes
More Brazilian recipes

11 hr 30 min
Feijoada

50 min
Moqueca Baiana

1 hr 40 min