
Vietnamese recipe
Chè ba màu — three-colour iced dessert
A whole-bean variation of three-colour chè: sweet red beans, pale black-eyed peas and green pandan jelly with coconut sauce and crushed ice.
Vietnam

01
Ingredients
- 240 g
cooked unsweetened red adzuki beans, drained
- 240 g
cooked black-eyed peas, drained
- 500 ml
water for jelly
- 4 g
pure agar-agar powder, not a sweetened jelly mix
- 2 ml
green-coloured food-grade pandan extract
- 120 g
sugar: 40 g jelly, 25 g each bean layer, 30 g coconut sauce
- 200 ml
water for bean syrups, divided equally
- 250 ml
coconut milk
- 1 g
salt
- 4 g
tapioca starch
- 20 ml
cold water for starch slurry
- 600 g
crushed ice
02
Method
- 01
Hydrate the agar
Whisk agar powder into 500 ml cold water in a saucepan and rest 10 minutes. Prepare a shallow heatproof dish large enough for a jelly layer about 2 cm deep.
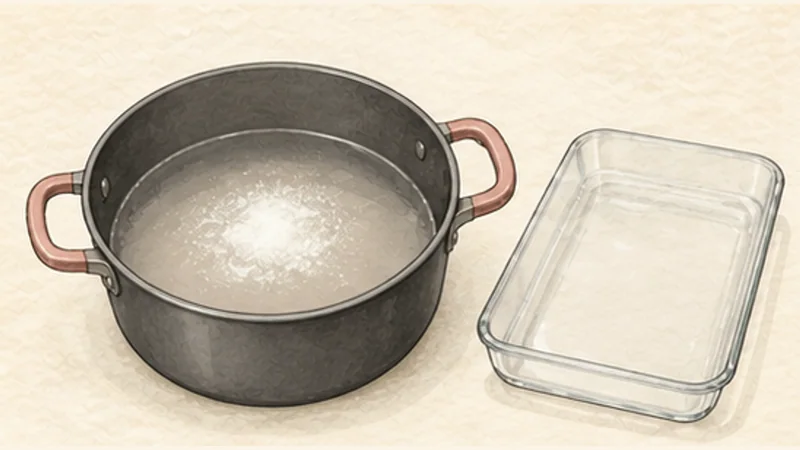
Cooking-step illustration, not a photograph - 02
Dissolve and flavour the jelly
Bring the agar mixture to a boil over medium heat, stirring. Boil 2 minutes until dissolved, add 40 g sugar, stir 1 minute, then remove from heat and mix in pandan extract.
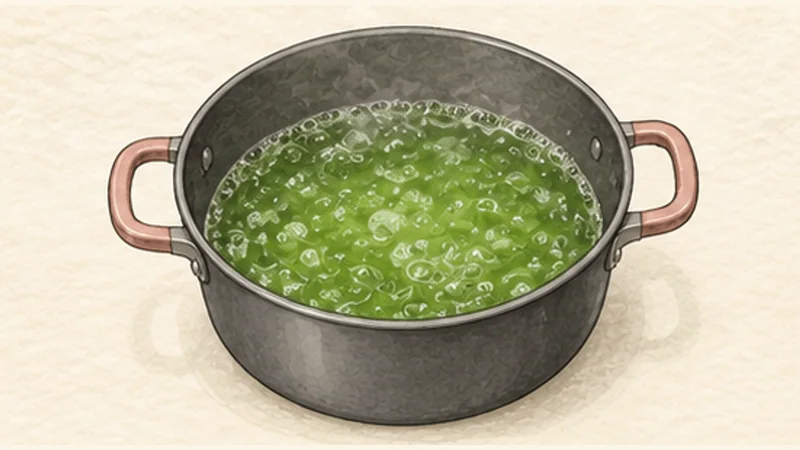
Cooking-step illustration, not a photograph - 03
Set and chill the jelly
Pour into the dish and skim bubbles. Cool for 30 minutes, then refrigerate for 4 hours until firm and thoroughly cold; prepare the remaining layers during the chill.
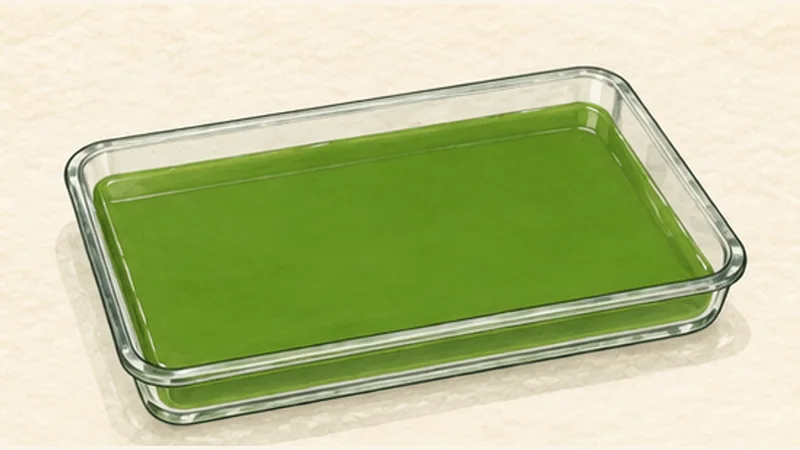
Cooking-step illustration, not a photograph - 04
Sweeten the red beans
Simmer red beans with 100 ml water and 25 g sugar over low heat for 8 minutes. Stir gently to keep beans intact and leave a little syrup; transfer to a shallow bowl.
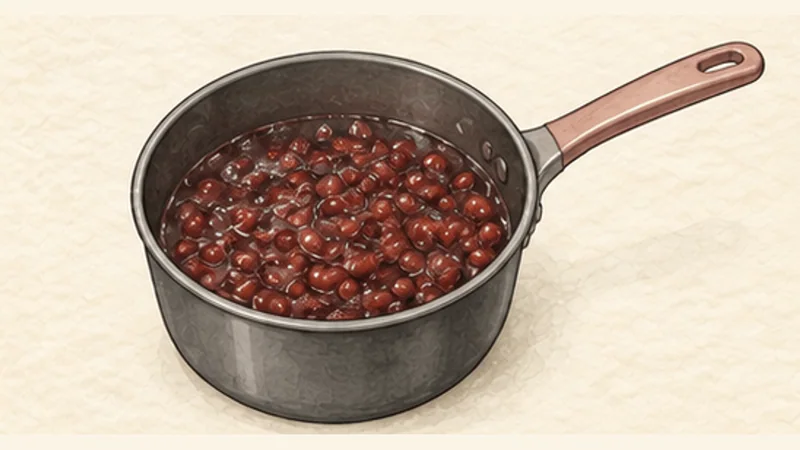
Cooking-step illustration, not a photograph - 05
Sweeten the pale beans
In a clean pan, simmer black-eyed peas with the other 100 ml water and 25 g sugar for 8 minutes. Stop before skins split and transfer to a separate shallow bowl.
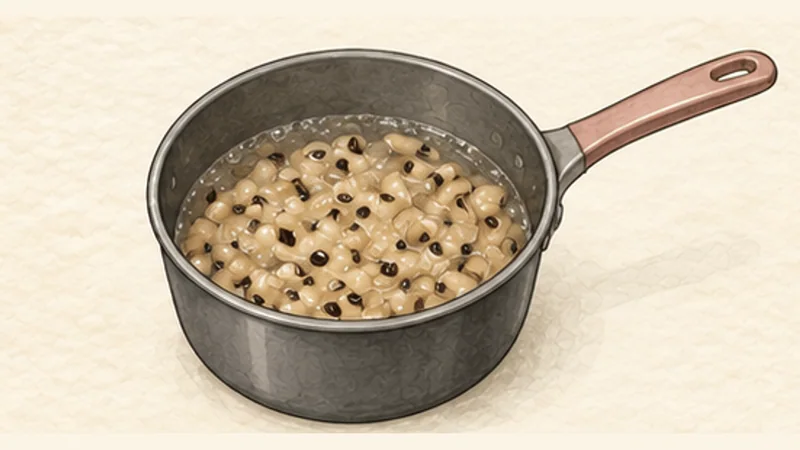
Cooking-step illustration, not a photograph - 06
Thicken coconut sauce
Mix tapioca starch with 20 ml cold water. Heat coconut milk, salt and the remaining 30 g sugar until steaming; stir in slurry and simmer 1 minute until lightly thickened.
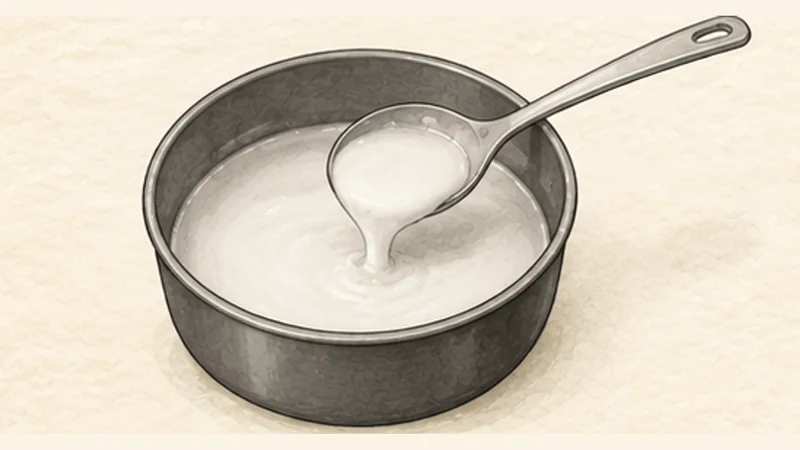
Cooking-step illustration, not a photograph - 07
Chill every component
Cool beans and coconut sauce in shallow containers for 20 minutes, then refrigerate at 0–4°C until fully cold. Keep the layers separate; do not leave them out for over 2 hours.
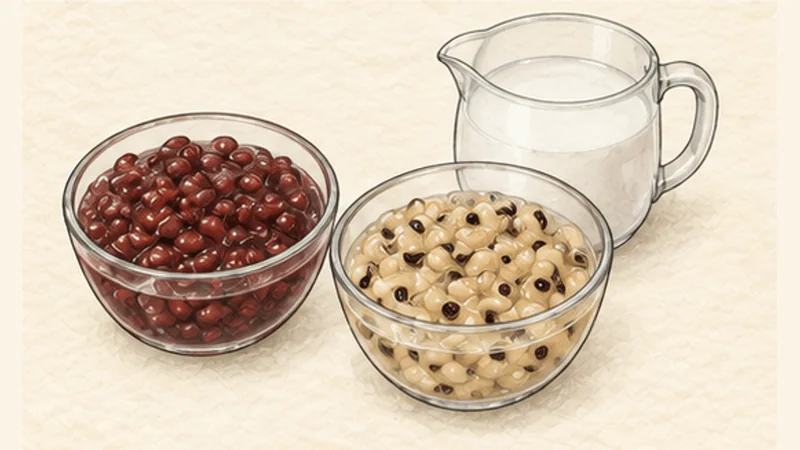
Cooking-step illustration, not a photograph - 08
Cut the green jelly
Release the cold jelly and cut into strips about 3 mm wide and 4 cm long. Separate strands gently; keep them cold while crushing the ice.
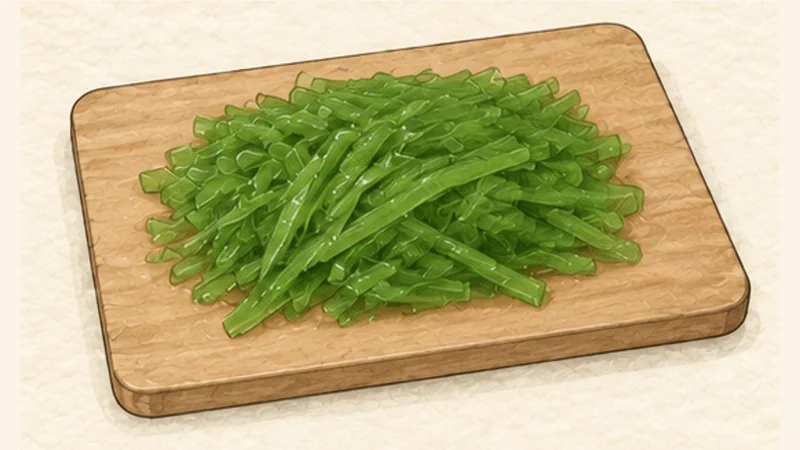
Cooking-step illustration, not a photograph - 09
Layer and serve immediately
Divide red beans, pale beans and green jelly among four tall glasses of at least 650 ml each. Add crushed ice and coconut sauce, keeping the colours visible. Serve with long spoons and stir together before eating.
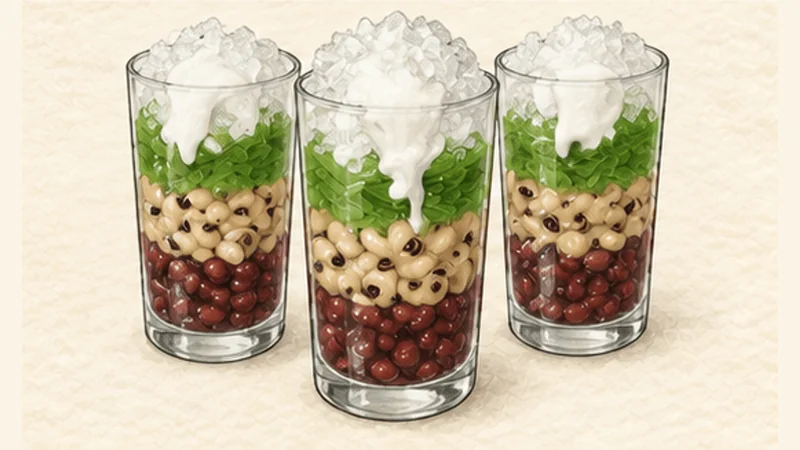
Cooking-step illustration, not a photograph


03
Sources and photo credit
This standardized method was independently rewritten after cross-checking the references below. Recipe Nest Vault does not claim that the credited photographer cooked from this exact version.
Recipe references
Chendol2 — Photograph by Jess Lander from Los Angeles, CA, USA; CC BY 2.0.
Step illustrations: Original illustrations created by Recipe Nest Vault with OpenAI image_gen.
More Vietnamese recipes
More Vietnamese recipes

7 hr 10 min
Beef Pho (Phở Bò)

2 hr 20 min
Chicken Pho (Phở Gà)

4 hr 30 min